
In this guide i will be using Centos 8, follow the below in order to install Ansible on your system.
*First let check we got Python installed*
su -
python -V
Python 3.6.8
Next we are ready to install Ansible. My preferred method is to use the Official RHEL repo, first we need to enable “subscription manager” within centos and enable the ansible repo.
subscription-manager repos --enable ansible-2.8-for-rhel-8-x86_64-rpms
dnf -y install ansible
We now have Ansible installed, but currently it does not know about any of our hosts, in the next step we need to define some hosts, in this example i will be using two Raspberry Pi B++ running Raspbian Buster.
cd /etc/ansible/hosts
nano hosts
Add the below to the hosts file.
[raspberrypis]
pi_living_room ansible_host=192.168.1.130
pi_bedroom ansible_host=192.168.1.12
Next we need to generate a SSH public and private keys this will be used for authentication for the ansible hosts via SSH.
Before this step ensure that the SSH rule is enabled within firewalld, use the list all command the verify the service is active, in this example ssh is enabled on the public interface.
firewall-cmd --permanent --list-all
public
  target: default
  icmp-block-inversion: no
  interfaces:
  sources:
  services: cockpit dhcpv6-client http ssh
  ports: 21/tcp 45073/tcp 10090-10100/tcp 3000/tcp 10051/tcp 10050/tcp 3306/tcp 80/tcp 5666/tcp
  protocols:
  masquerade: no
  forward-ports:
  source-ports:
  icmp-blocks:
  rich rules:
If not use the below command to all a permanent rule, then reload firewalld.
firewall-cmd --permanent --add-service=ssh
firewall-cmd --reload
success
If you do not want to use SSH Passwordless Auth you can add the below to your /etc/ansible/hosts file, this is handy when SSH keys have not been generated on hosts.
[raspberrypis]
pi_living_room ansible_host=192.168.1.130 ansible_connection=ssh ansible_ssh_user=pi ansible_ssh_pass=c1ayb3ak3rl@ngnotarealpasswd
pi_bedroom ansible_host=192.168.1.12 ansible_connection=ssh ansible_ssh_user=pi ansible_ssh_pass=c1ayb3ak3rl@ng*notarealpasswd
ssh-keygen
**This should output**

[root@localhost ansible]# ssh-keygen
Generating public/private rsa key pair.
Enter file in which to save the key (/root/.ssh/id_rsa):
Created directory '/root/.ssh'.
Enter passphrase (empty for no passphrase):
Enter same passphrase again:
Your identification has been saved in /root/.ssh/id_rsa.
Your public key has been saved in /root/.ssh/id_rsa.pub.
The key fingerprint is:
SHA256:xxxxxxxxxxxxxxxxxxxxxxxxxxxxxxxxxxxxxx
root@localhost.localdomain
The key's randomart image is:
+---[RSA 2048]----+
|OXO.= o          |
|*EorewrewrewrweX @ .         |
We are now ready to exchange SSH keys between our Ansible server and hosts that we earlier defined in our /etc/ansible/hosts file.
ssh-copy-id pi@192.168.1.130 We will then see the below.
[root@localhost ansible]# ssh-copy-id pi@192.168.1.130
/usr/bin/ssh-copy-id: INFO: Source of key(s) to be installed: "/root/.ssh/id_rsa.pub"
The authenticity of host '192.168.1.130 (192.168.1.130)' can't be established.
ECDSA key fingerprint is SHA256:xxxxxxxxxxxxxxxxxxxxxxxxxxxxxxxxxxxxxxxxxxxxxxxxxxxxxx.
Are you sure you want to continue connecting (yes/no)? y
Please type 'yes' or 'no': yes
/usr/bin/ssh-copy-id: INFO: attempting to log in with the new key(s), to filter out any that are already installed
/usr/bin/ssh-copy-id: INFO: 1 key(s) remain to be installed -- if you are prompted now it is to install the new keys
Test the SSH connection with the keys we just cached for our host
ssh pi@192.168.1.12
pi@192.168.1.12's password:
Linux pi_bedroom 4.19.66-v7+ #1253 SMP Thu Aug 15 11:49:46 BST 2019 armv7l

The programs included with the Debian GNU/Linux system are free software;
the exact distribution terms for each program are described in the
individual files in /usr/share/doc/*/copyright.

Debian GNU/Linux comes with ABSOLUTELY NO WARRANTY, to the extent
permitted by applicable law.
Last login: Wed Dec 11 16:56:54 2019 from 192.168.1.20
Now we can run a quick test to ensure the steps above went correctly.
ansible all -a "/bin/echo hello"

** we could also substitute "all" for the group we just created "raspberrypis" in this instance the results will be the same.

ansible raspberrypis -a "/bin/echo hello
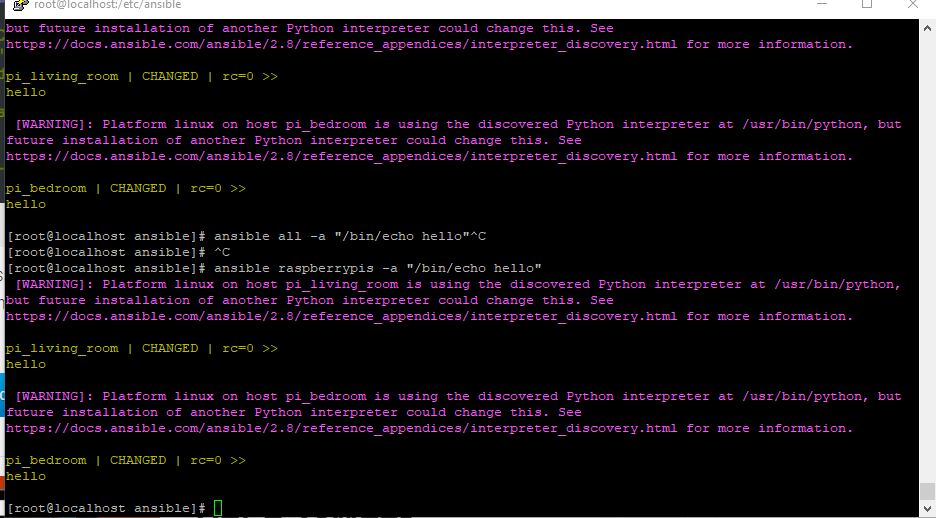
If everything is successfully we will see the below.
 [WARNING]: Platform linux on host pi_living_room is using the discovered Python interpreter at /usr/bin/python,
but future installation of another Python interpreter could change this. See
https://docs.ansible.com/ansible/2.8/reference_appendices/interpreter_discovery.html for more information.

pi_living_room | CHANGED | rc=0 >>
hello

 [WARNING]: Platform linux on host pi_bedroom is using the discovered Python interpreter at /usr/bin/python, but
future installation of another Python interpreter could change this. See
https://docs.ansible.com/ansible/2.8/reference_appendices/interpreter_discovery.html for more information.

pi_bedroom | CHANGED | rc=0 >>
hello
You have successfully set up and run your first test on Ansible.
Now Lets Run A Simple Ansible Playbook.
This is a basic example of a playbook that could be used to verify that specified services are installed and running on a host. In this example we connect to the host “pi_living_room” that we defined earlier in our /etc/ansible/hosts file. This would be a great script to include after installation of specific services or software.
Next we create a playbook called “services.yml” remember all .yml plays book start with —.
nano services.yml---
- name: checking service status
hosts: pi_living_room
remote_user: pi
become: true
tasks:
- name: checking service status
command: systemctl status "{{ item }}"
with_items:
- docker
- nagios-nrpe-server
- mysql
- ssh
register: result
ignore_errors: yes
- name: showing report
debug:
var: result
we are now ready to run the ansible playbook.
ansible-playbook services.ymlIn our terminal we will see the below if the playbook is successful
[root@localhost ansible]# ansible-playbook services.yml

PLAY [checking service status] ************************************************************************************************************************

TASK [Gathering Facts] ********************************************************************************************************************************
ok: [pi_living_room]

TASK [checking service status] ************************************************************************************************************************
changed: [pi_living_room] => (item=docker)
changed: [pi_living_room] => (item=nagios-nrpe-server)
changed: [pi_living_room] => (item=mysql)
changed: [pi_living_room] => (item=ssh)
Ansible should then show us a report of the services we specified in our playbook.